


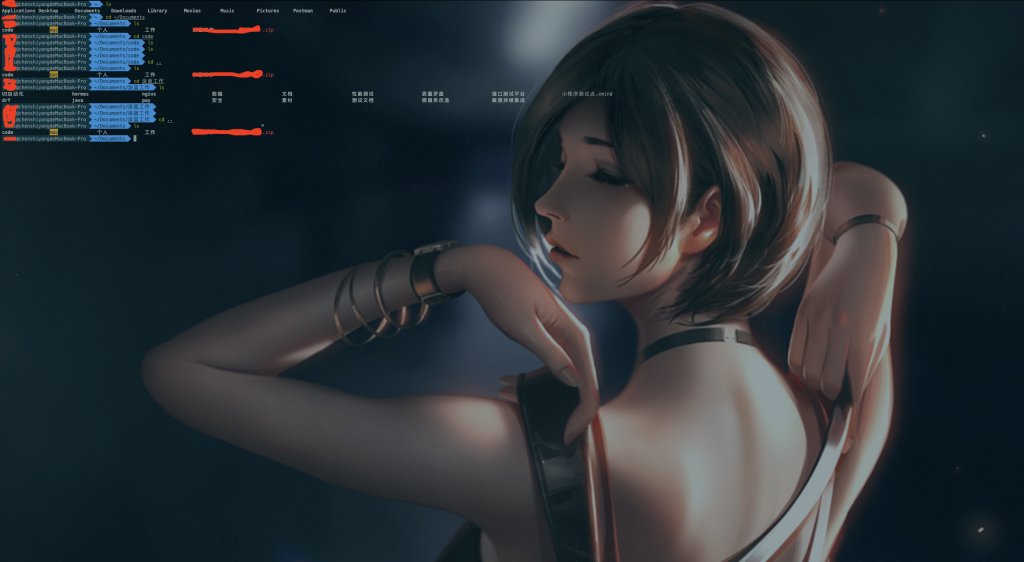
最终效果图

安装iTerm2
可以直接去官网下载:https://www.iterm2.com/
安装oh my zsh
# curl 安装方式

sh -c "$(curl -fsSL https://raw.githubusercontent.com/robbyrussell/oh-my-zsh/master/tools/install.sh)"

# wget 安装方式

sh -c "$(wget https://raw.githubusercontent.com/robbyrussell/oh-my-zsh/master/tools/install.sh -O -)"
以上两种网上安装方式均不可用
oh-my-zsh开源地址:https://github.com/robbyrussell/oh-my-zsh,下载到本地安装
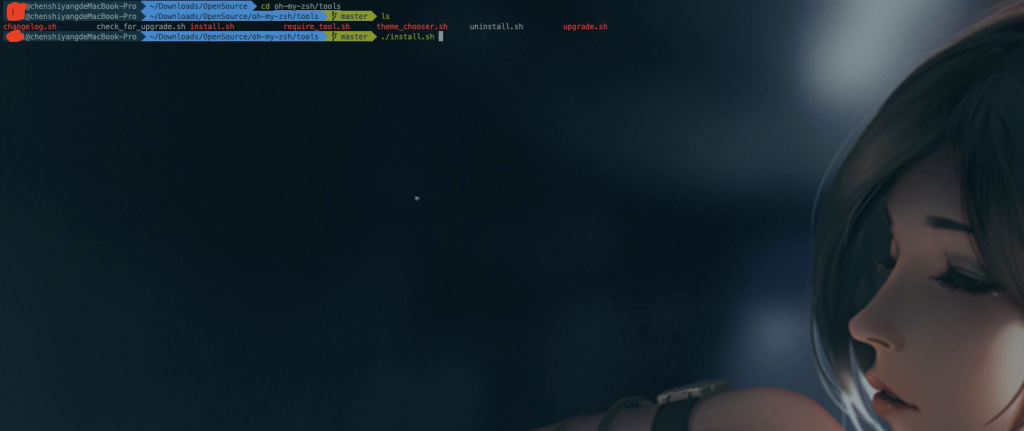
# 进入工具目录
cd oh-my-zsh/tools
# 执行安装文件
./install.sh
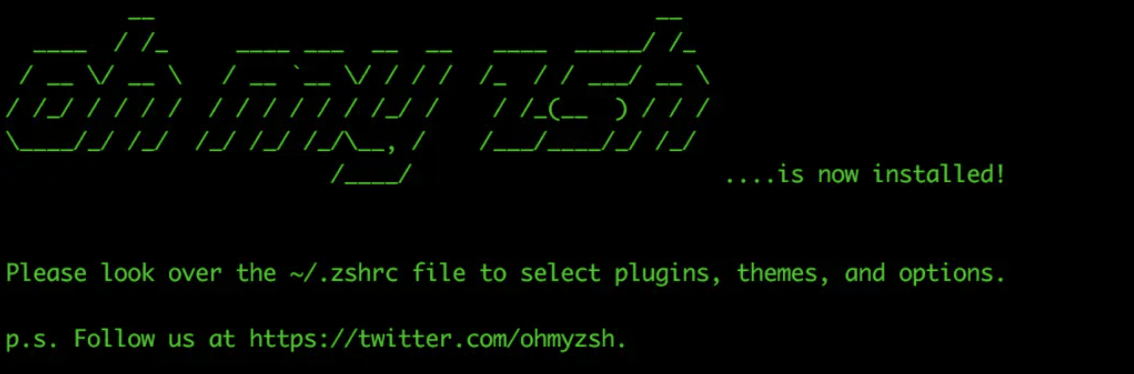
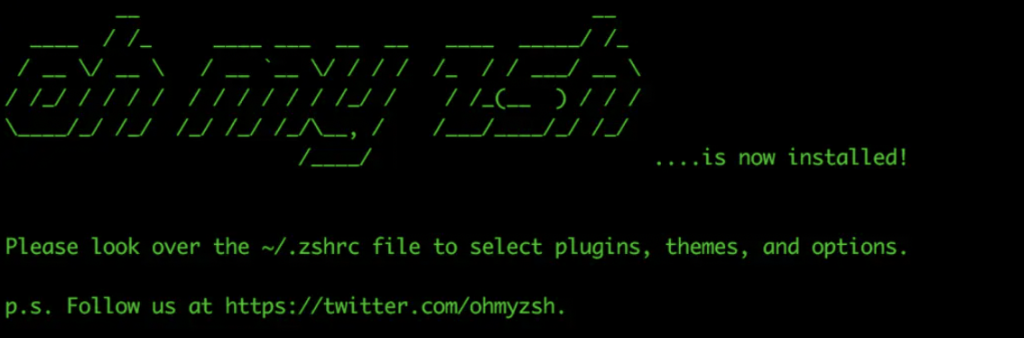
出现oh my zsh 表示安装成功
如果报报 “Insecure completion-dependent directories detected“ 错误

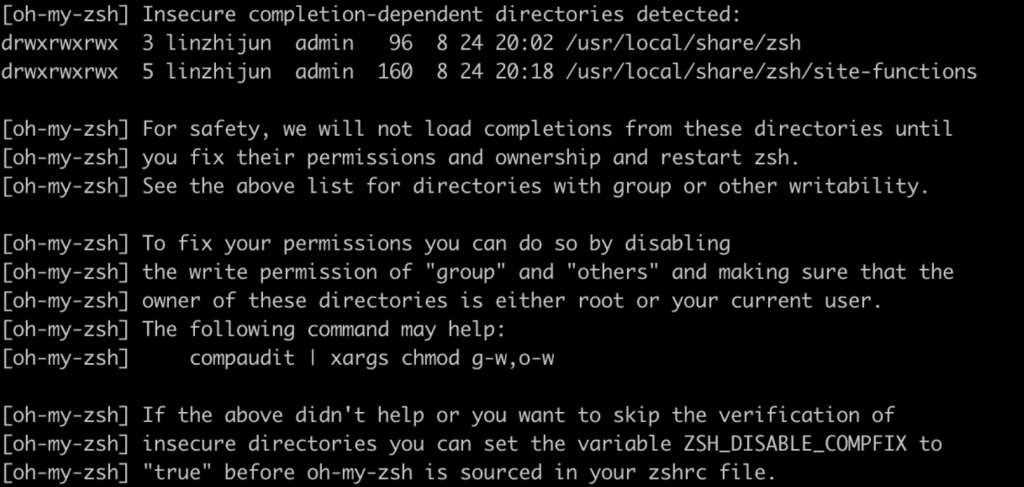
这是由于 /usr/local/share/zsh /usr/local/share/zsh/site-functions 这两个目录没有权限,给这个两个目录赋权就可以了
chmod 755 /usr/local/share/zsh
chmod 755 /usr/local/share/zsh/site-functions
安装PowerLine
一条命令即可
pip3 install powerline-status --user安装PowerFonts
安装字体库需要首先将项目git clone至本地,然后执行源码中的install.sh。
# git clone

git clone https://github.com/powerline/fonts.git

# cd to folder

cd fonts

# run install shell

./install.sh

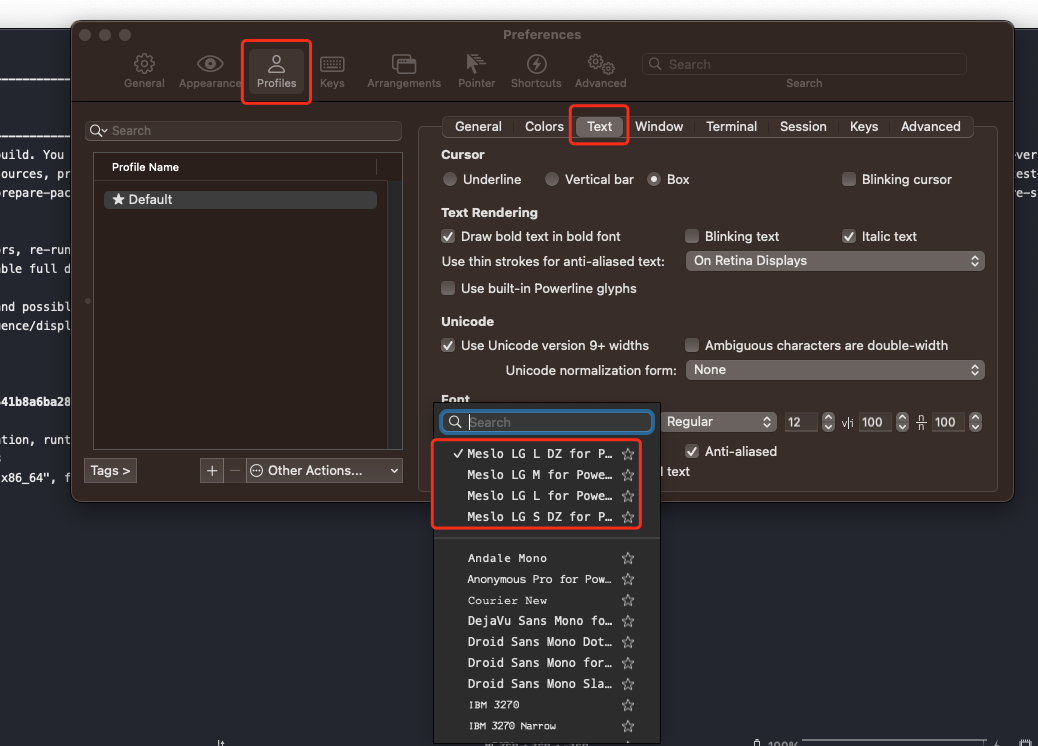
安装好字体库之后,我们来设置iTerm2的字体,具体的操作是iTerm2 -> Preferences -> Profiles -> Text,在Font区域选中Change Font,然后找到Meslo LG字体。有L、M、S可选,看个人喜好:
安装配色方案
配色方案在使用VIM或Colorful Log时会变得非常有用,使用git 下载
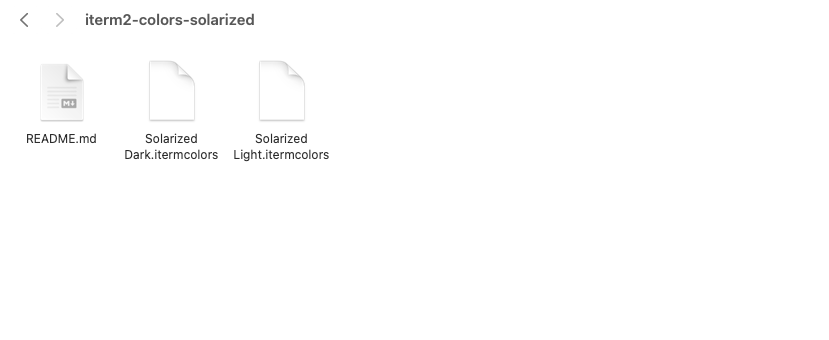
git clone https://github.com/altercation/solarized

cd solarized/iterm2-colors-solarized/

open .
在打开的finder窗口中,双击Solarized Dark.itermcolors和Solarized Light.itermcolors即可安装明暗两种配色
或者下载Dracula 配色方案https://draculatheme.com/iterm/
解压后更换 import
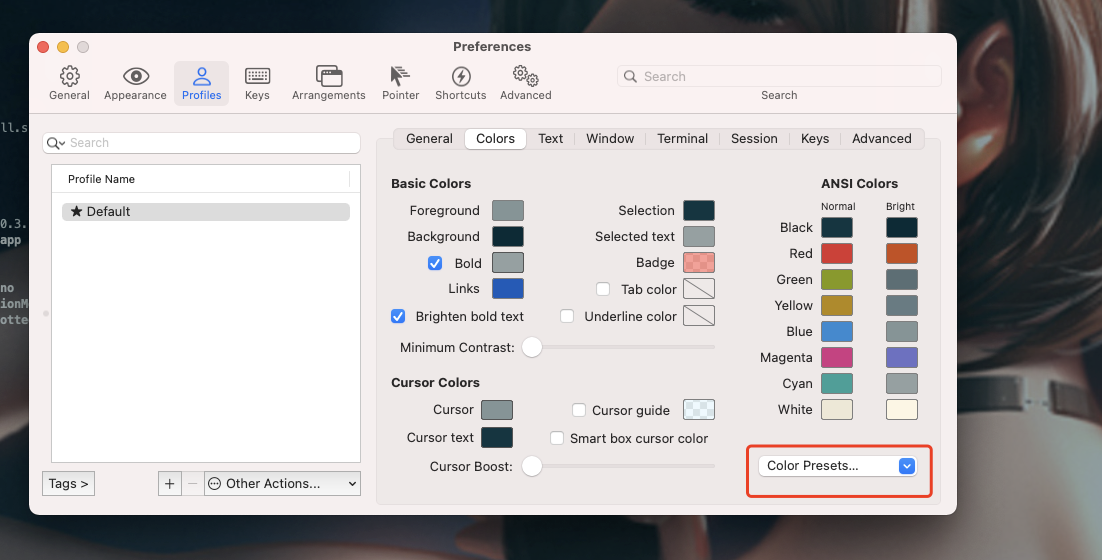
进入iTerm2 -> Preferences -> Profiles -> Colors -> Color Presets中根据个人喜好选择这两种配色中的一种即可

安装主题
下载agnoster主题,执行脚本安装
git clone https://github.com/fcamblor/oh-my-zsh-agnoster-fcamblor.git

cd oh-my-zsh-agnoster-fcamblor/

./install
执行上面的命令会将主题拷贝到oh my zsh的themes中,将ZSH_THEME后面的字段改为agnoster,
vim ~/.zshrc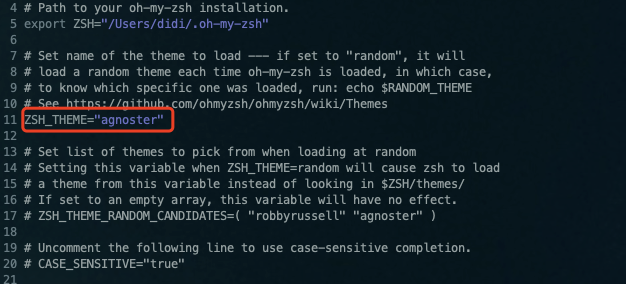
刷新文件
source ~/.zshrc
或者安装spaceship主题
git clone https://github.com/denysdovhan/spaceship-prompt.git "$ZSH_CUSTOM/themes/spaceship-prompt" --depth=1
将克隆下来的主题软连接到 zsh 的主题文件夹中
ln -s "$ZSH_CUSTOM/themes/spaceship-prompt/spaceship.zsh-theme" "$ZSH_CUSTOM/themes/spaceship.zsh-theme"
修改~/.zshrc中的主题名
ZSH_THEME="spaceship"
在命令行输入source ~/.zshrc 让zshrc生效。
安装高亮插件
这是oh my zsh的一个插件,安装方式与theme大同小异
cd ~/.oh-my-zsh/custom/plugins/

git clone https://github.com/zsh-users/zsh-syntax-highlighting.git

vim ~/.zshrc
这时我们再次打开zshrc文件进行编辑。找到plugins,此时plugins中应该已经有了git,我们需要把高亮插件也加上:
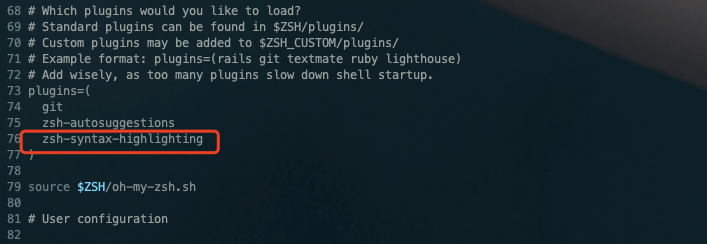
请务必保证插件顺序,zsh-syntax-highlighting必须在最后一个。
然后在文件的最后一行添加:source ~/.oh-my-zsh/custom/plugins/zsh-syntax-highlighting/zsh-syntax-highlighting.zsh
刷新
source ~/.zshrc安装命令补全
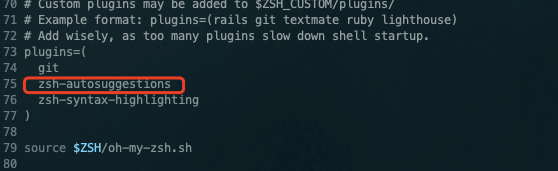
跟代码高亮的安装方式一样,这也是一个zsh的插件,叫做zsh-autosuggestion,用于命令建议和补全,挺实用的。
cd ~/.oh-my-zsh/custom/plugins/

git clone https://github.com/zsh-users/zsh-autosuggestions

vim ~/.zshrc
找到plugins,加上这个插件即可
安装AutoJump
根据历史的访问记录快速访问目标目录
命令行安装:
brew install autojump
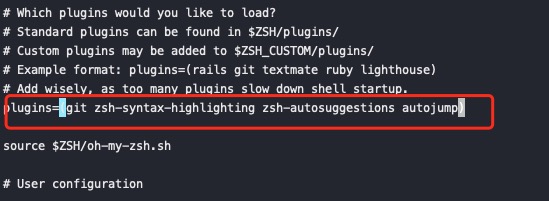
将 autojump 放入~/.zshrc中的插件设置中:
plugins=(git autojump)
在~/.zshrc的结尾添加:
[[ -s $(brew --prefix)/etc/profile.d/autojump.sh ]] && . $(brew --prefix)/etc/profile.d/autojump.sh

最终
至此大功告成


推荐几个高清图地址
- https://www.pexels.com/
- https://www.sitebuilderreport.com
- https://www.ssyer.com/
- https://unsplash.com/
- https://pixabay.com/
- https://stocksnap.io/
- https://magdeleine.co/
- https://visualhunt.com/
更换背景图片方式:iTerm2 -> Preferences -> Profiles -> Window -> BackGround Image勾选图片即可


Comments | 1 条评论
我经常计划, 能像你们一样多旅行。谢谢启发。 [url=https://iqvel.com/zh-Hans/country/%E7%8E%BB%E5%88%A9%E7%BB%B4%E4%BA%9A]拉巴斯[/url] 这个页面 真的 帮助别人。继续!